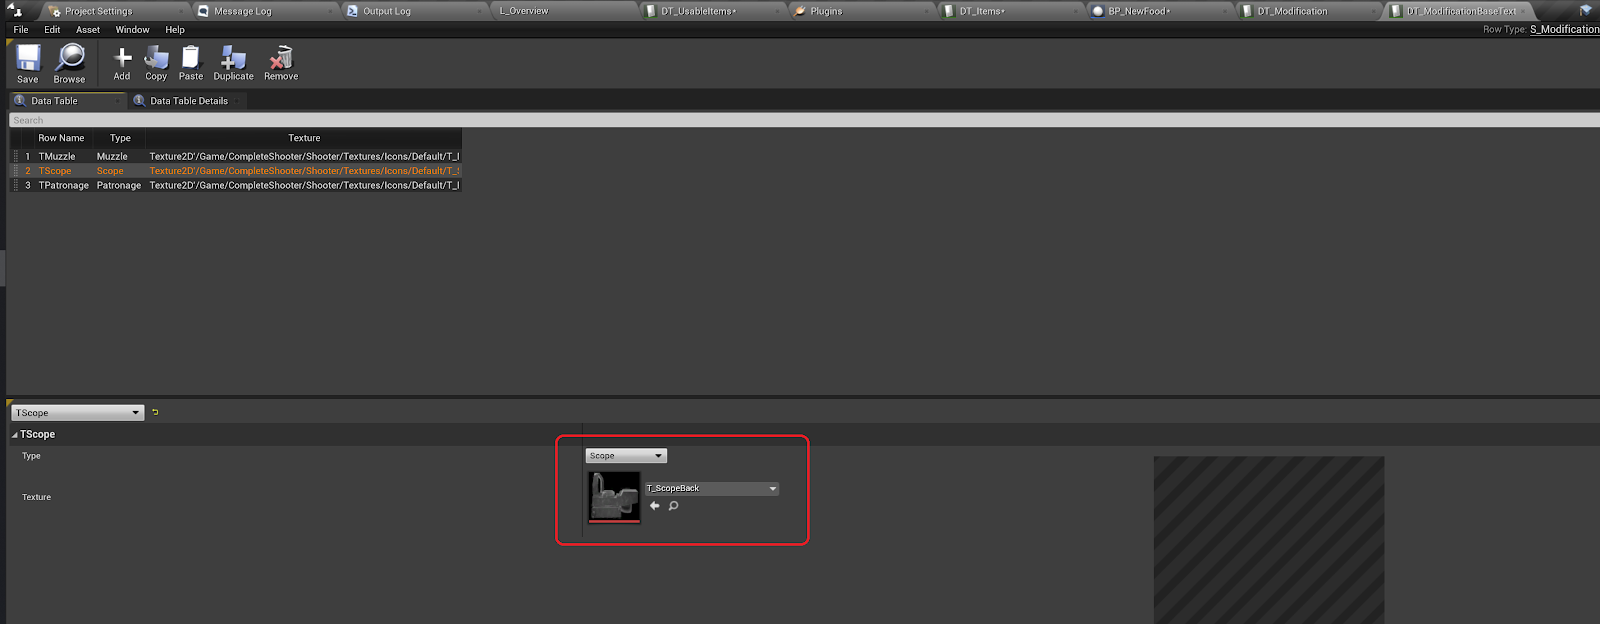
To change the background (empty slot) image of the modification you need to change textures in the ModificationBase data table.
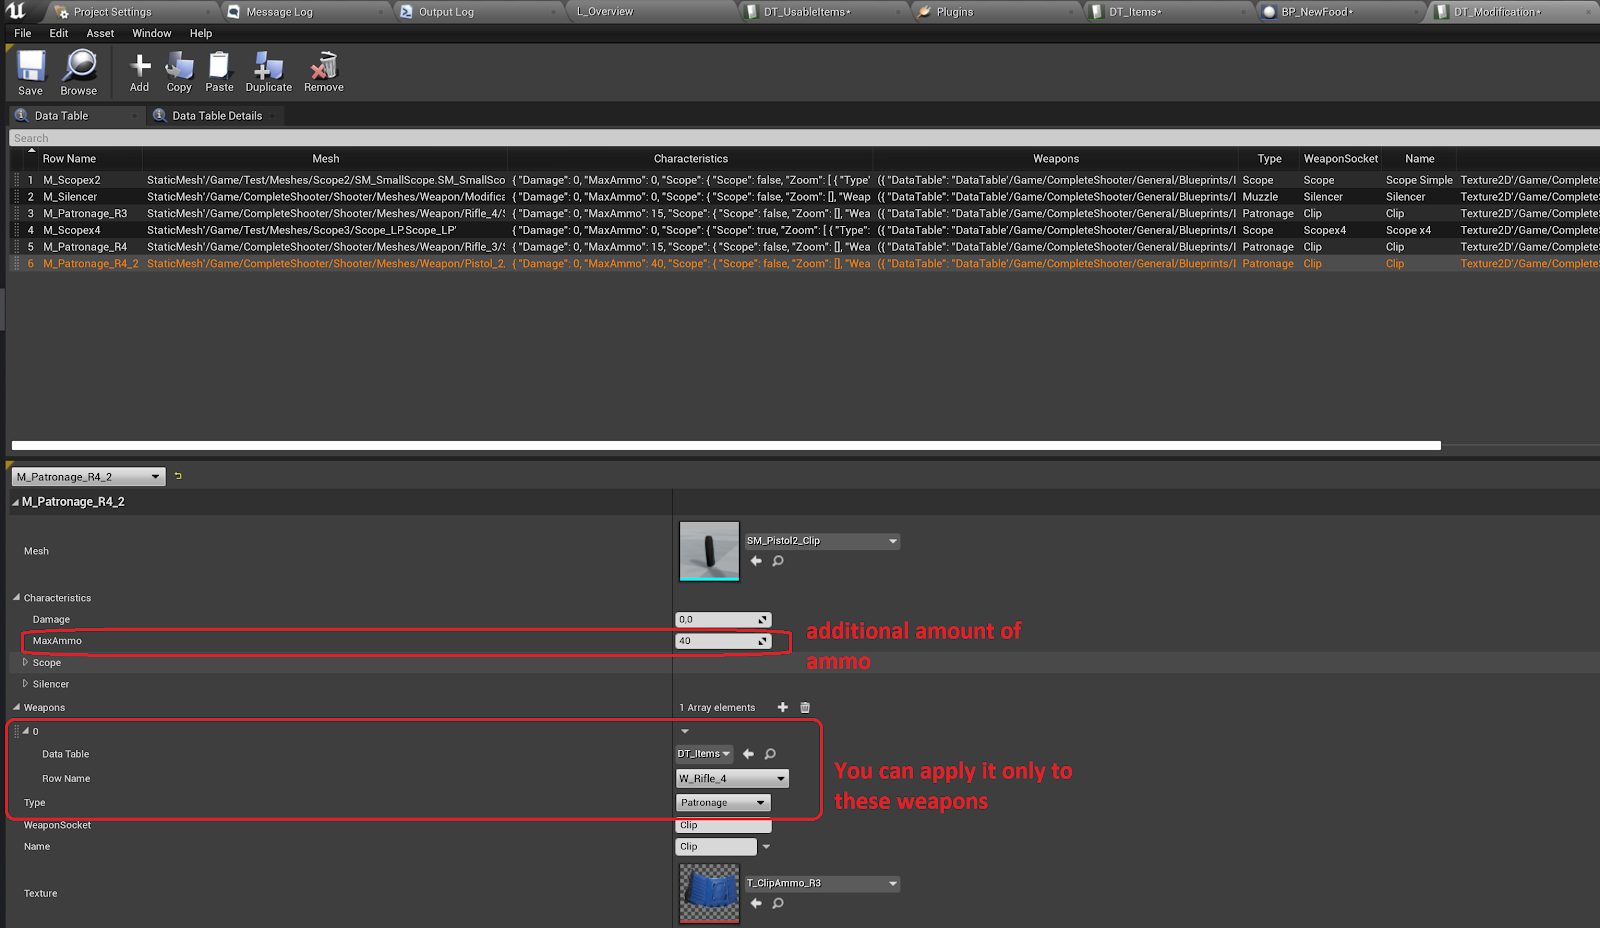
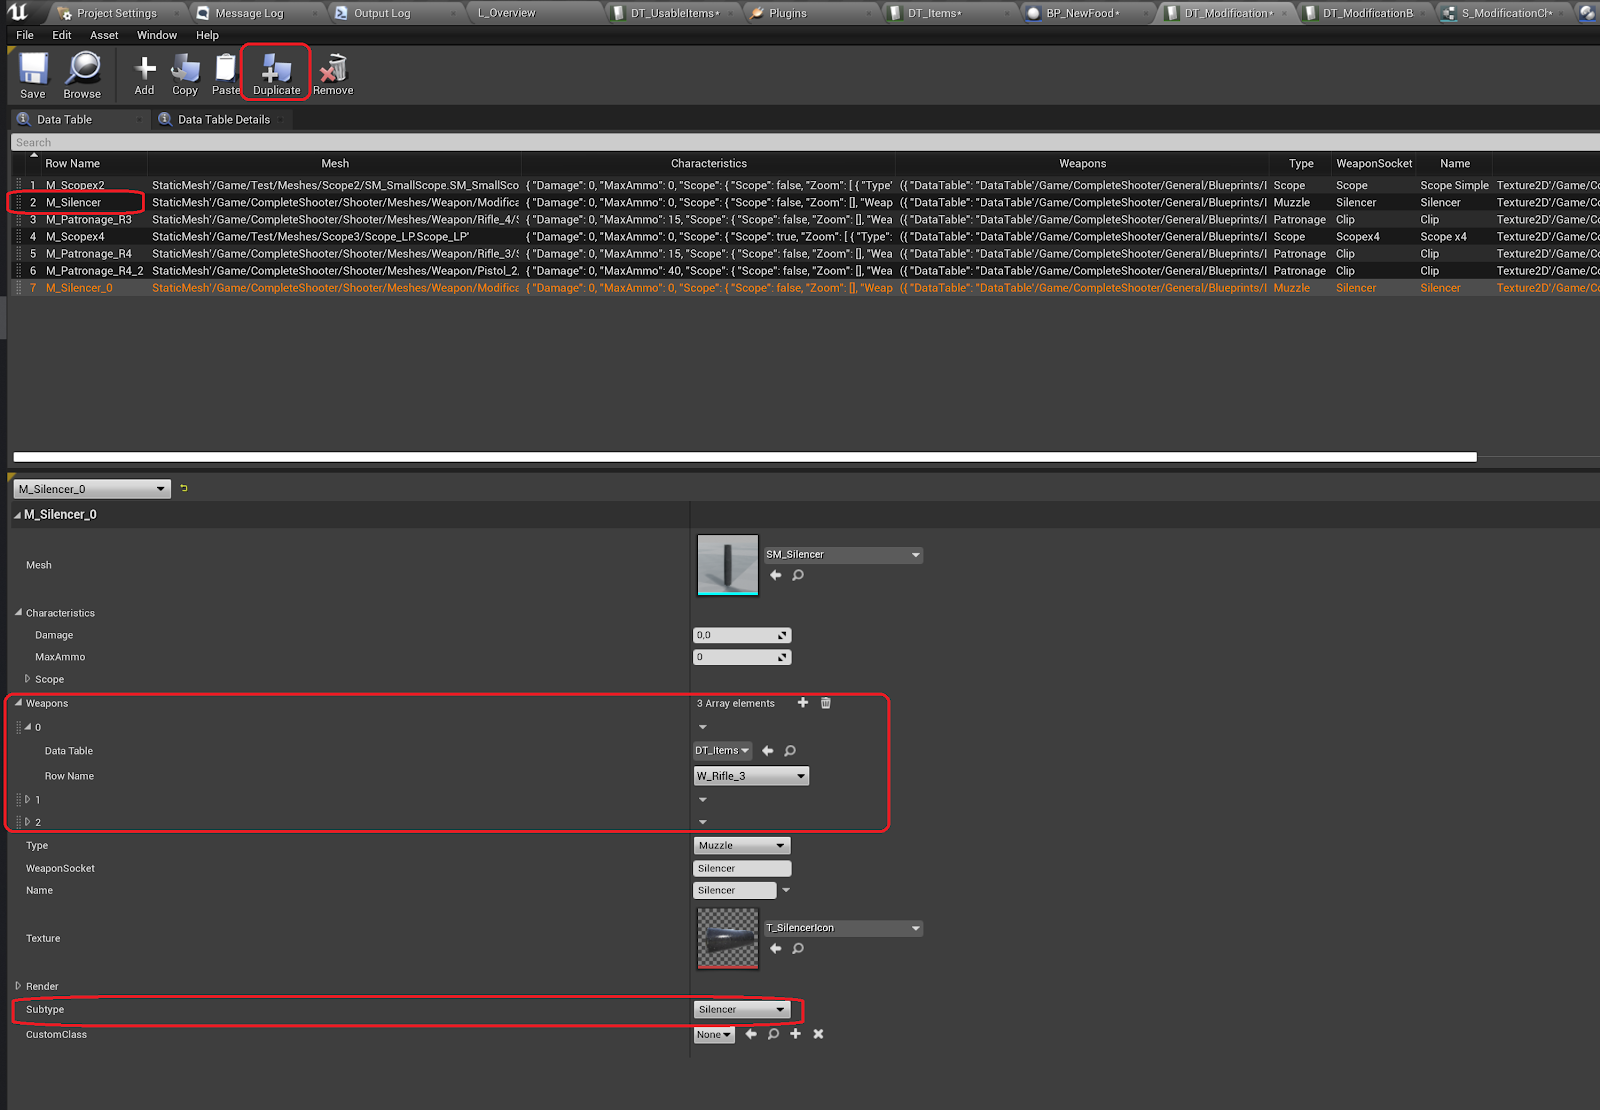
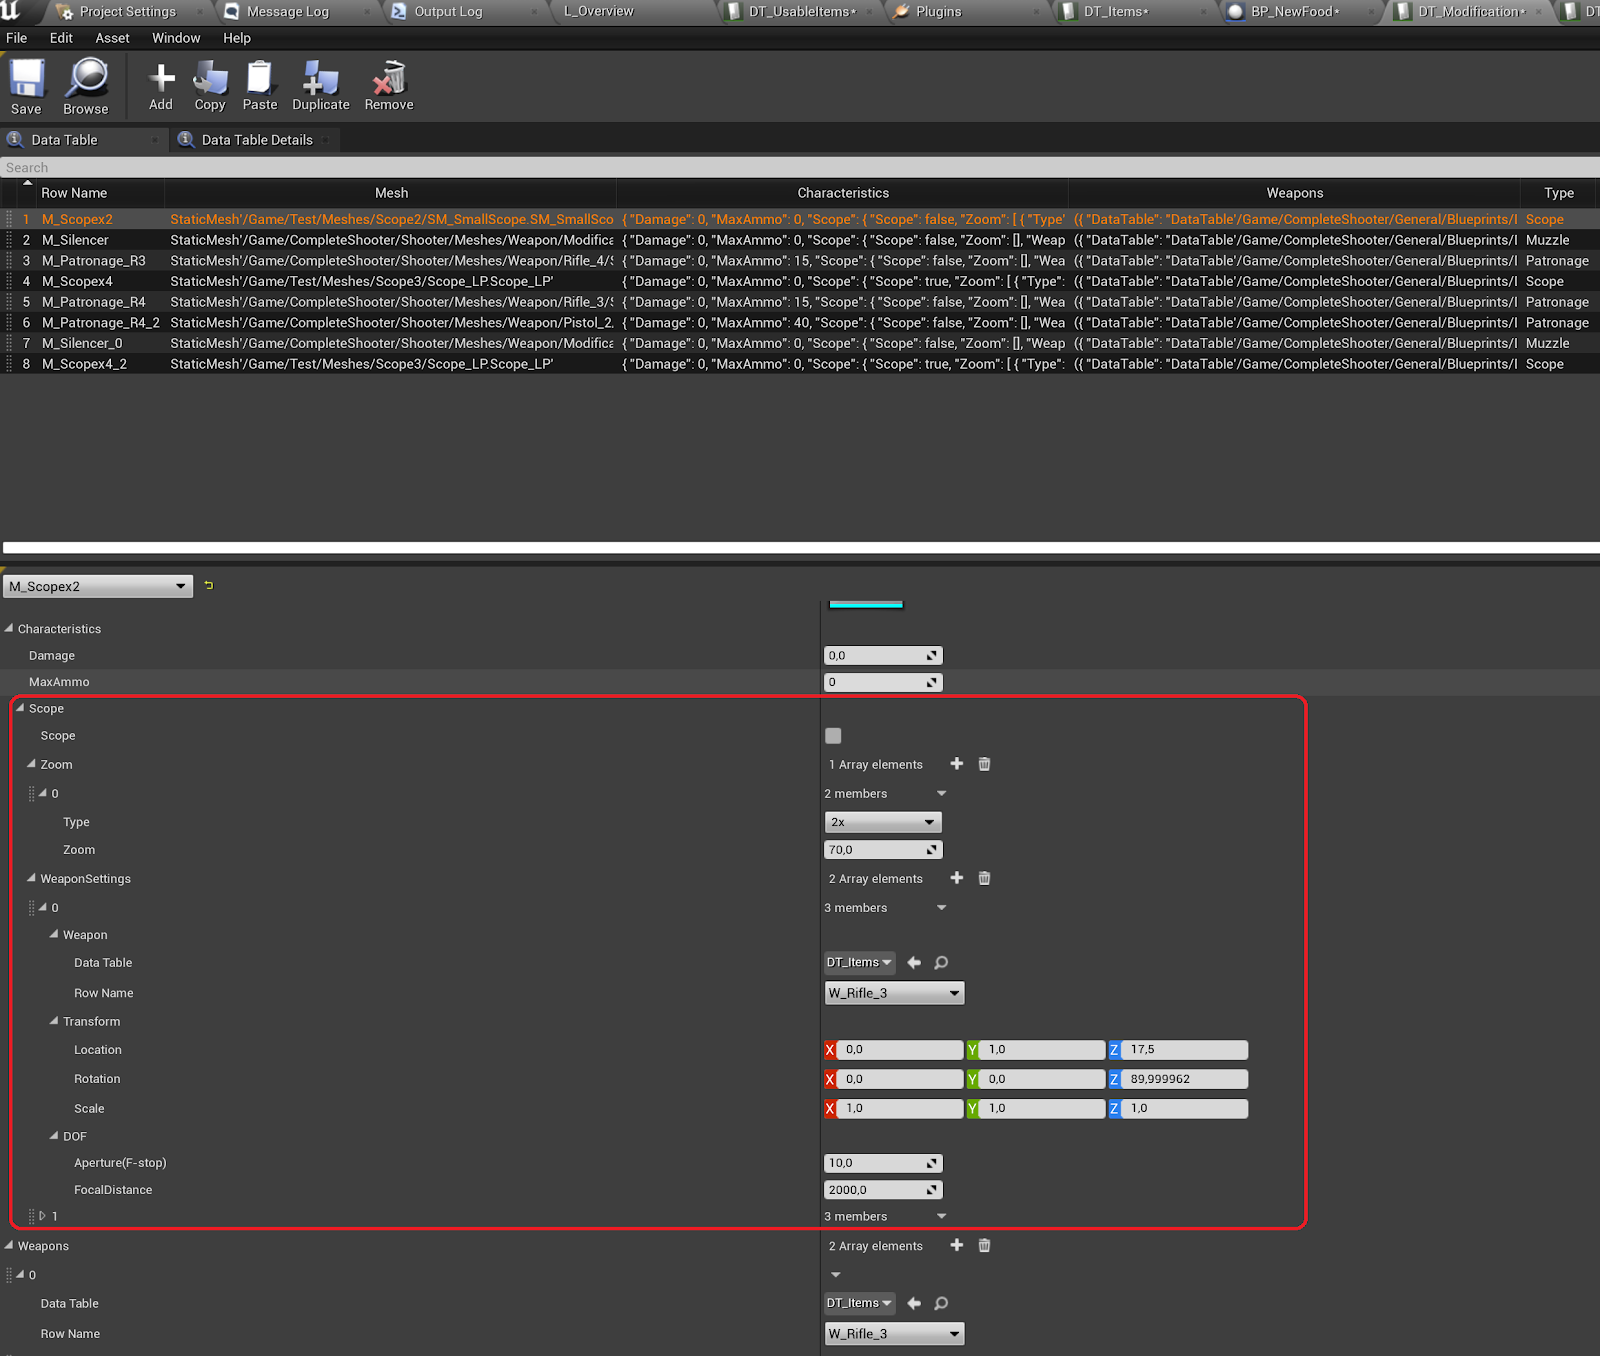
To create a new modification you need to duplicate a new row of a type you want to add in the DT_Modification data table. Here you can add a: scope, magazine or a muzzle. You can affect the amount of bullets, damage, silenced shots or a scope of your weapon with these modifications. In each modification you need to select an array of weapons from DT_Items that this modification can be applied to.
To create a new magazine you can duplicate existing patronage row. Here you can change your mesh, socket in the weapon mesh, additional amount of ammo and the weapon that this magazine can be applied to.
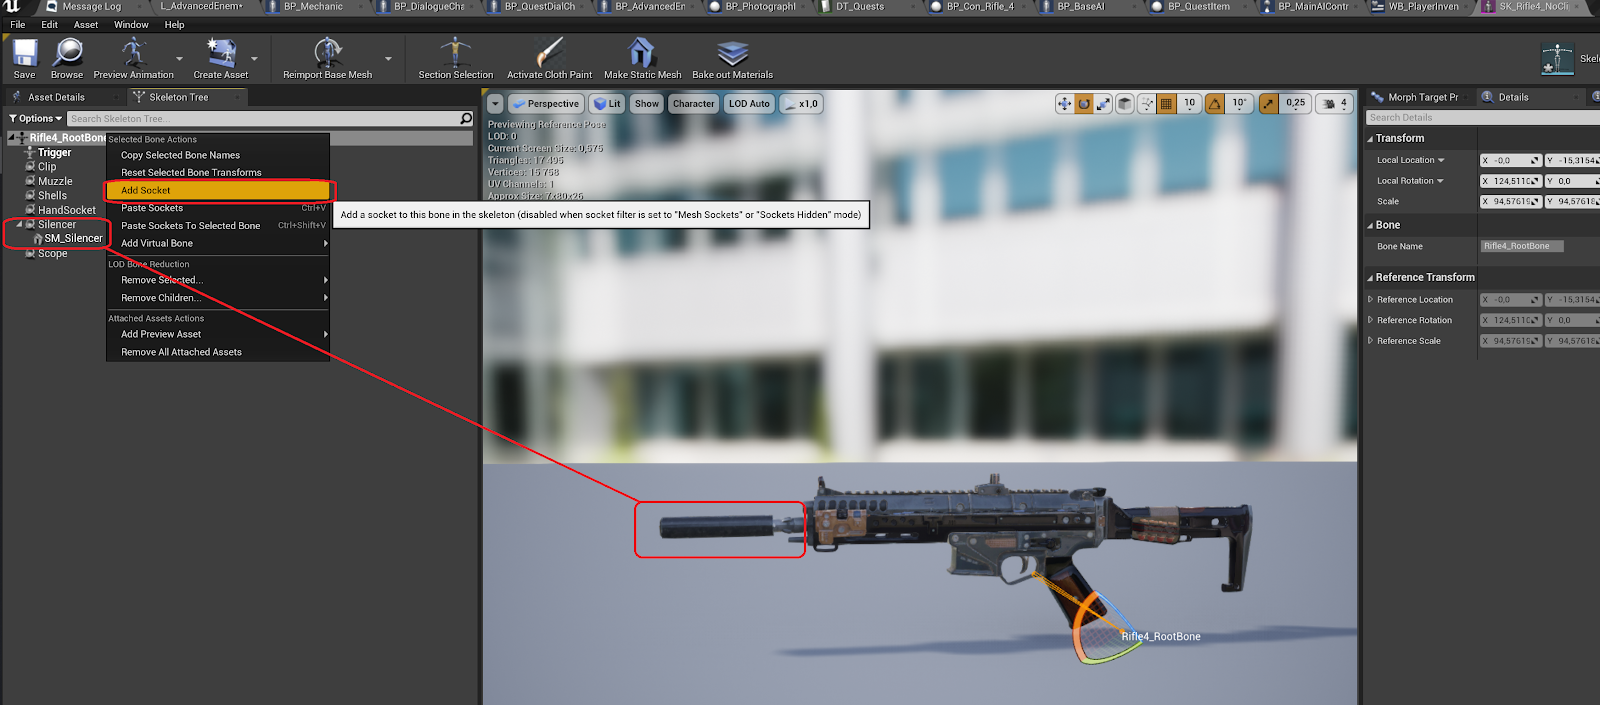
You can set the socket of the modification in your weapon.
Next thing is the muzzle modification. You can add any amount of damage to your weapon. You can also make this modification as a silencer. The weapon will use silenced sounds then.
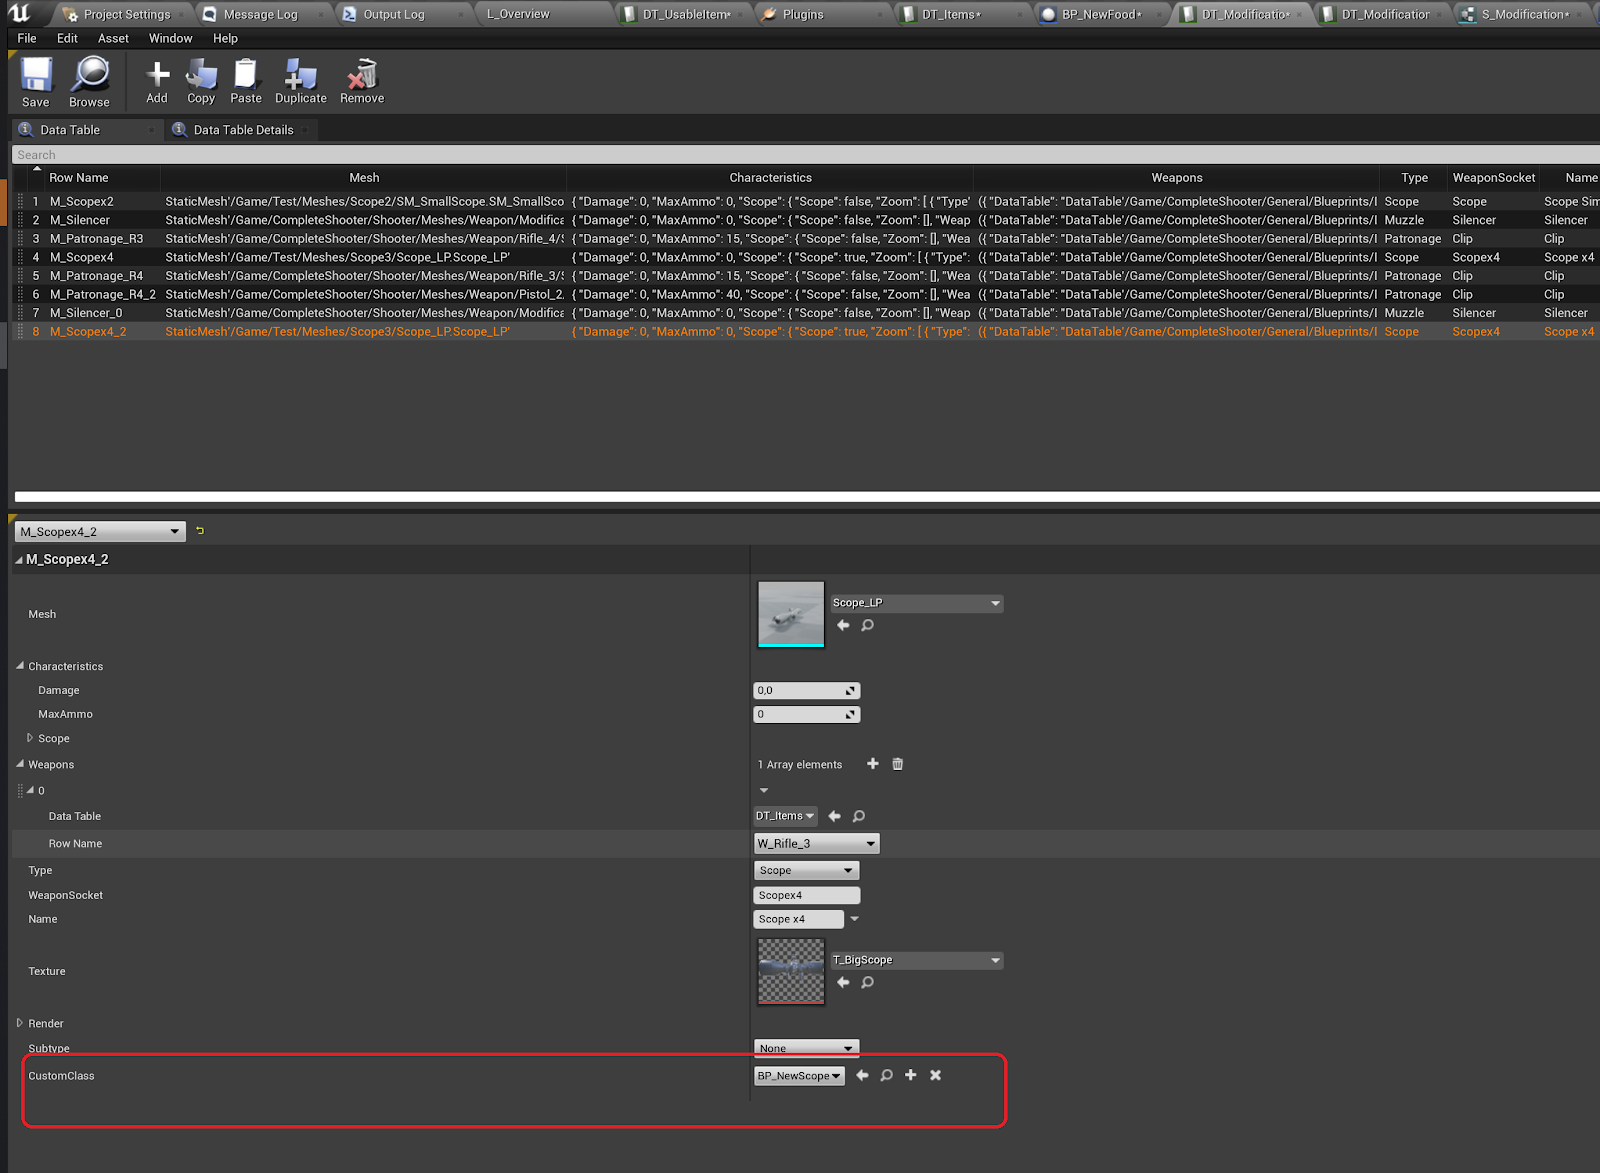
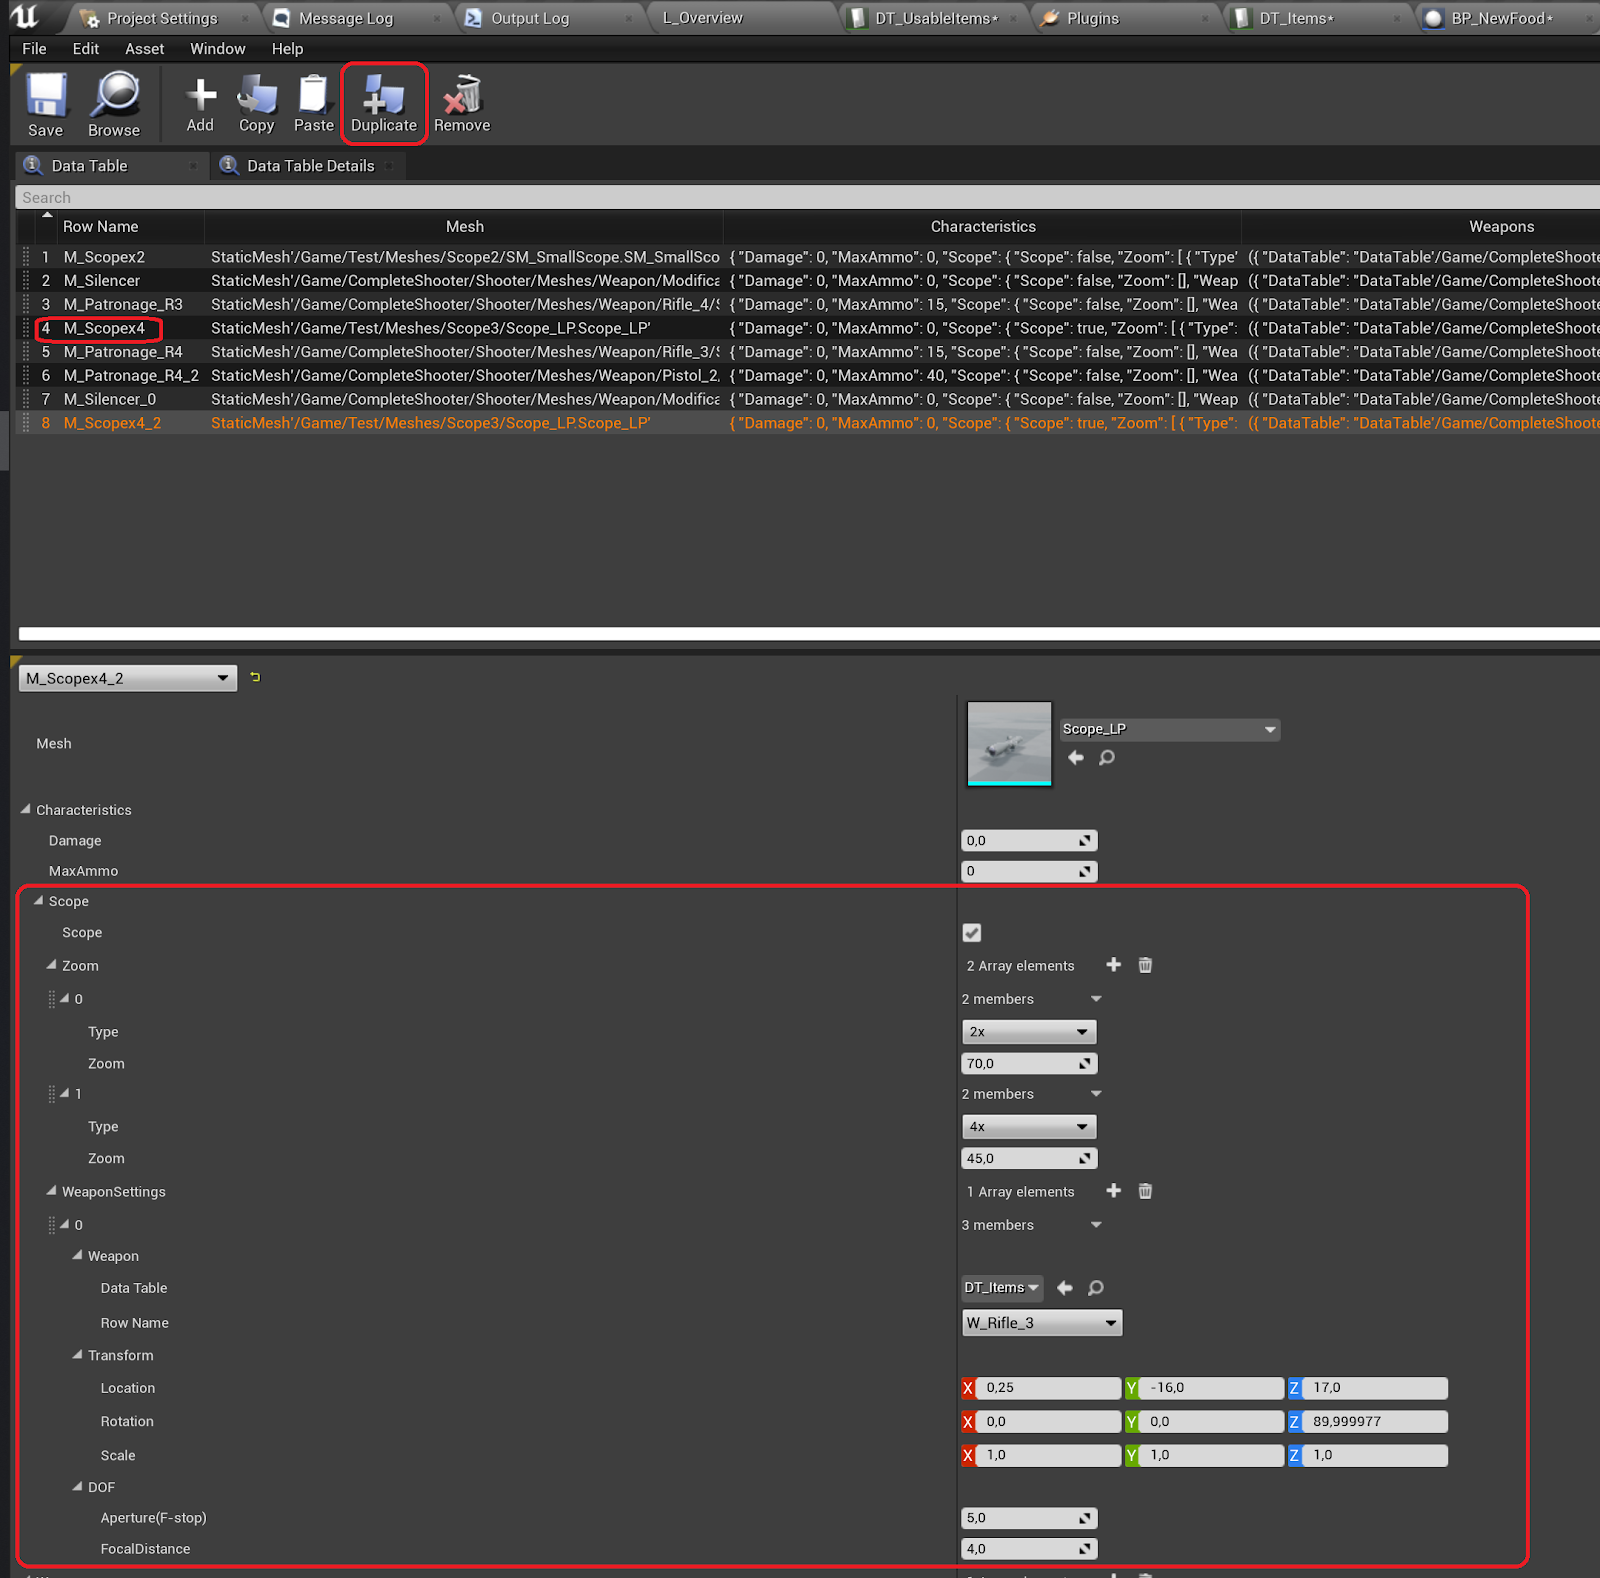
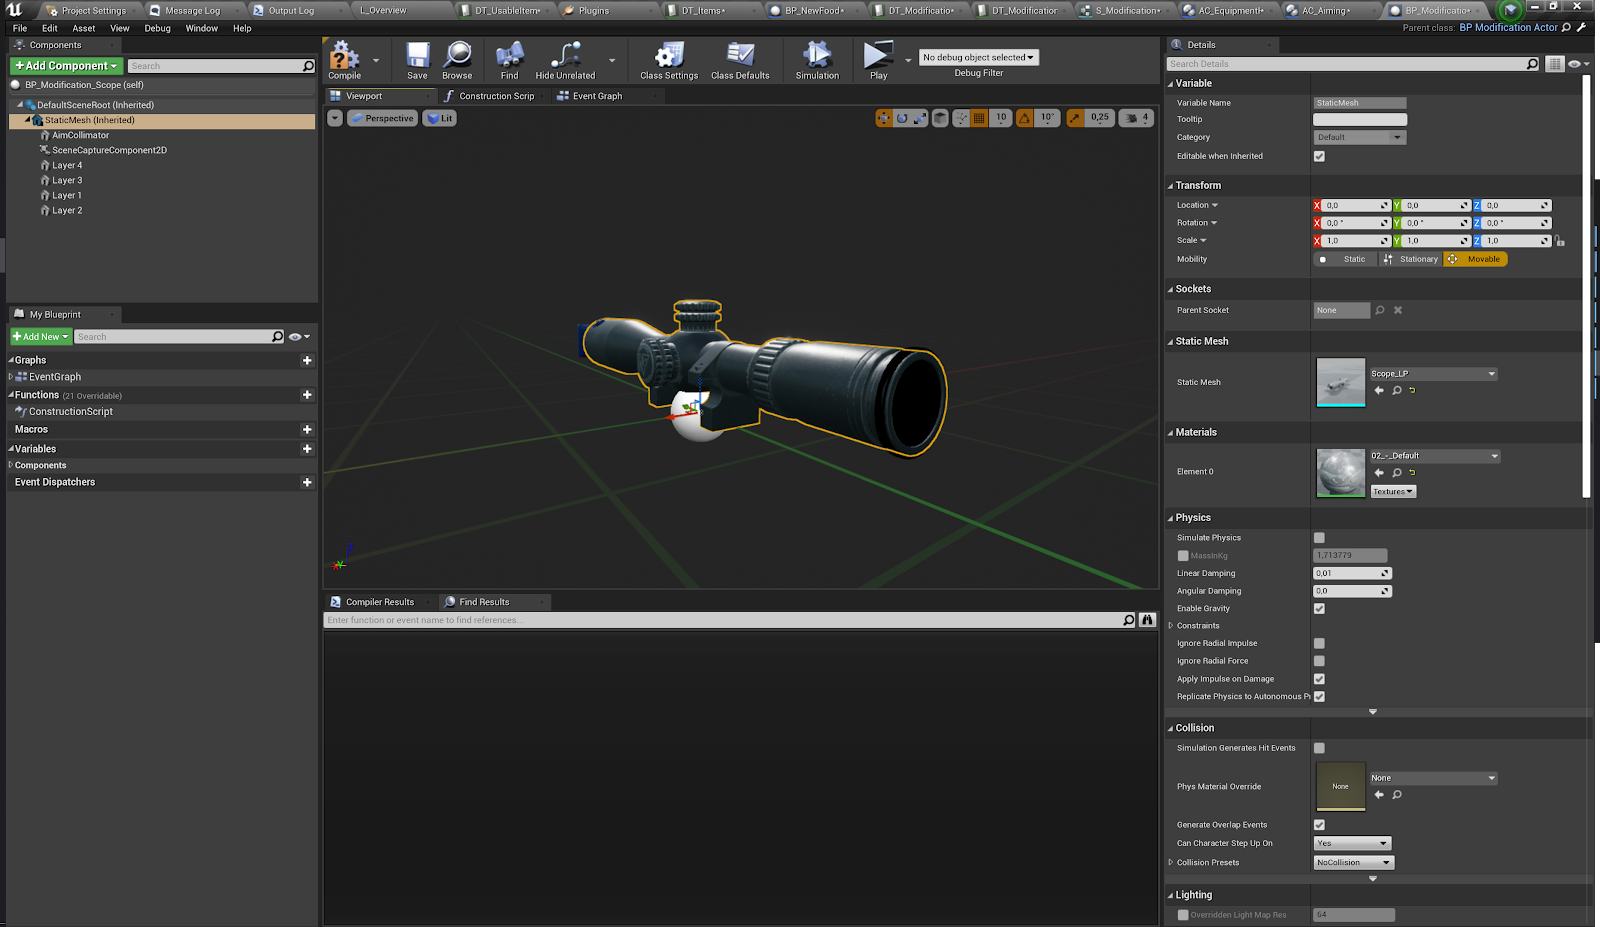
The most complicated modification is the scope. If you are using 3D scope you need to configure the new location of the camera with this scope and the DOF settings for each weapon that this modification can be applied to. If this is a scope set the Scope variable to true. You can also choose the scope modification actor as if it is a 3D scope you need to have a blueprint with special materials. You can use the BS_Modification_Scope as a reference.
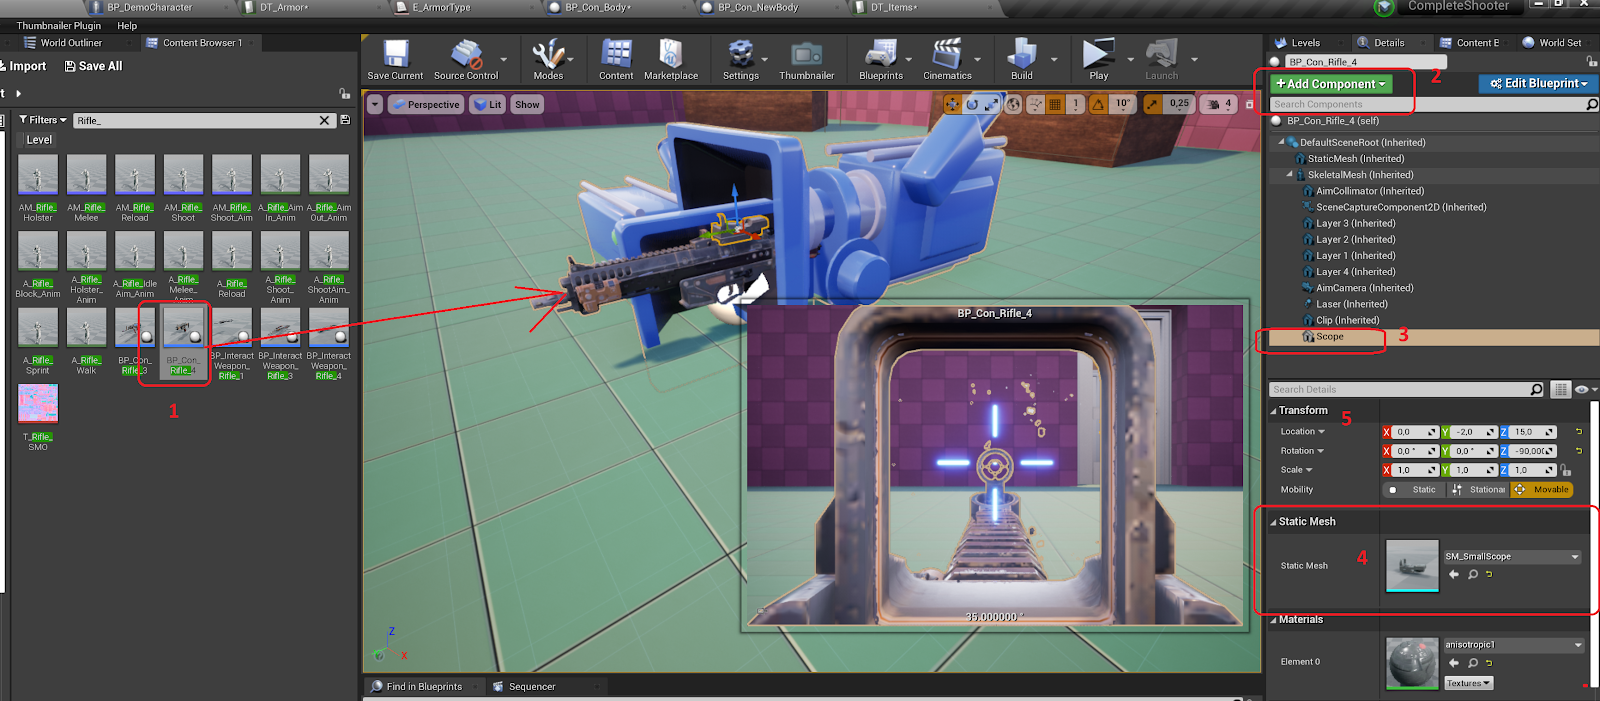
The easiest way to find the right location of the camera and the dof settings. (1) Get the weapon you want to configura to the world. (2) Add a static mesh with your scope mesh. (3-5) Set it to the right location and set it’s mesh.
Select the AimCamera and change its location and DOF settings.
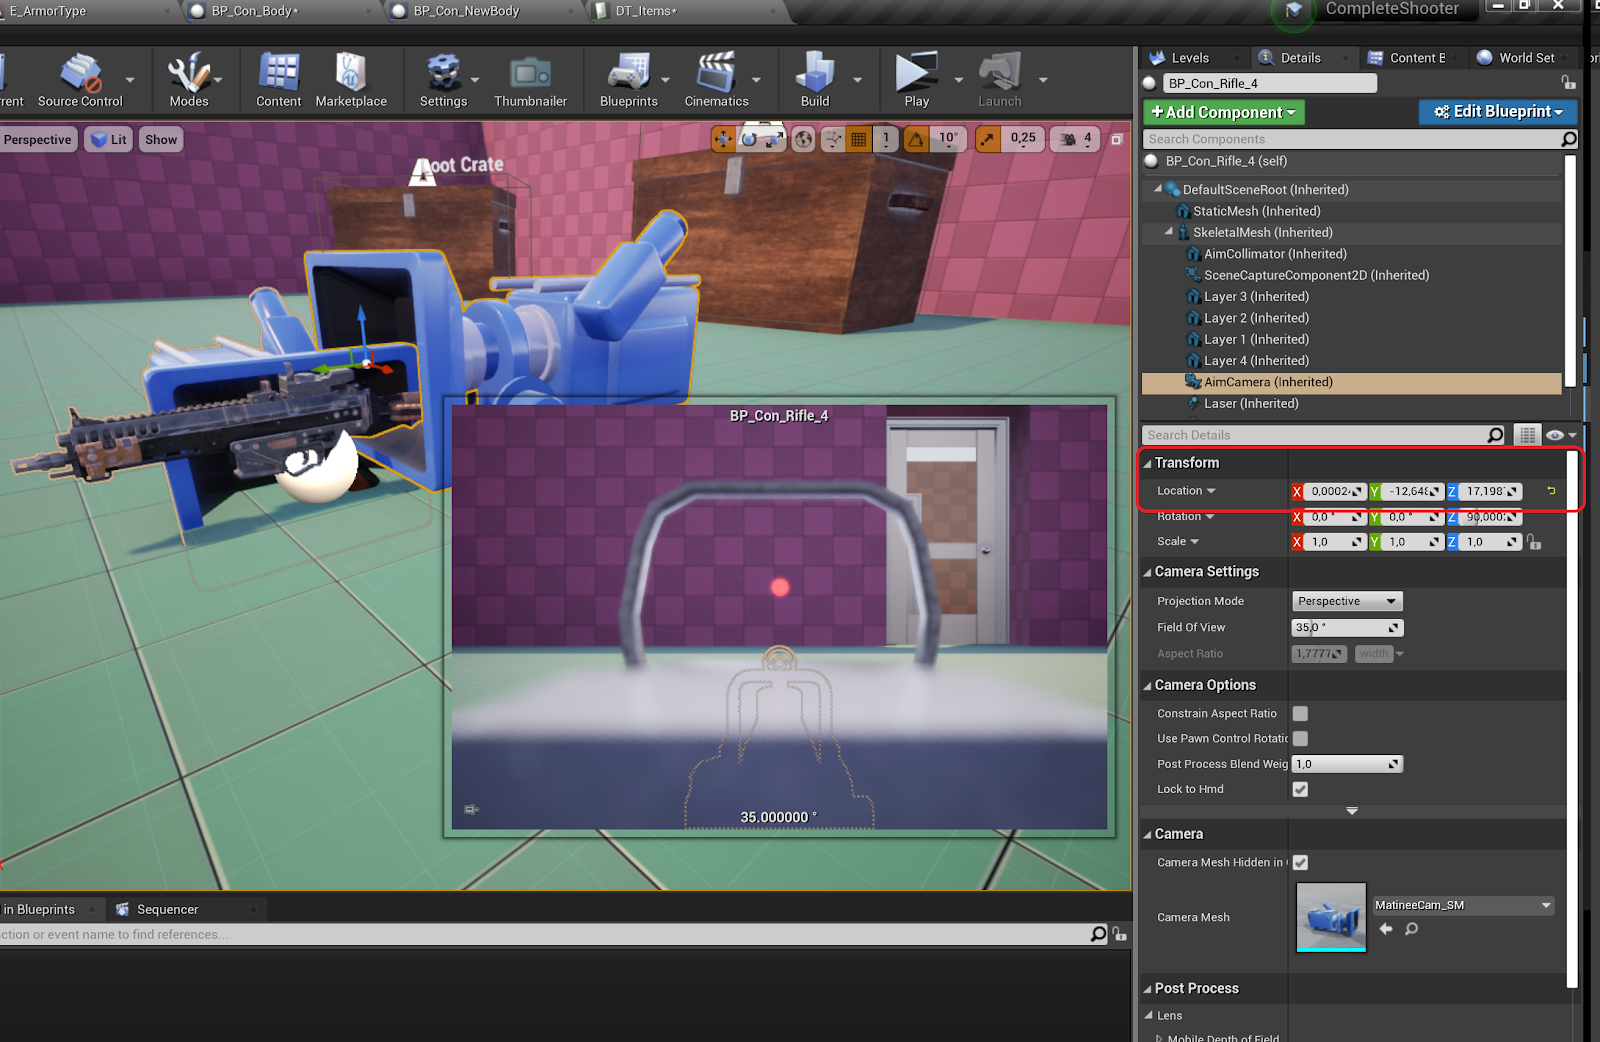
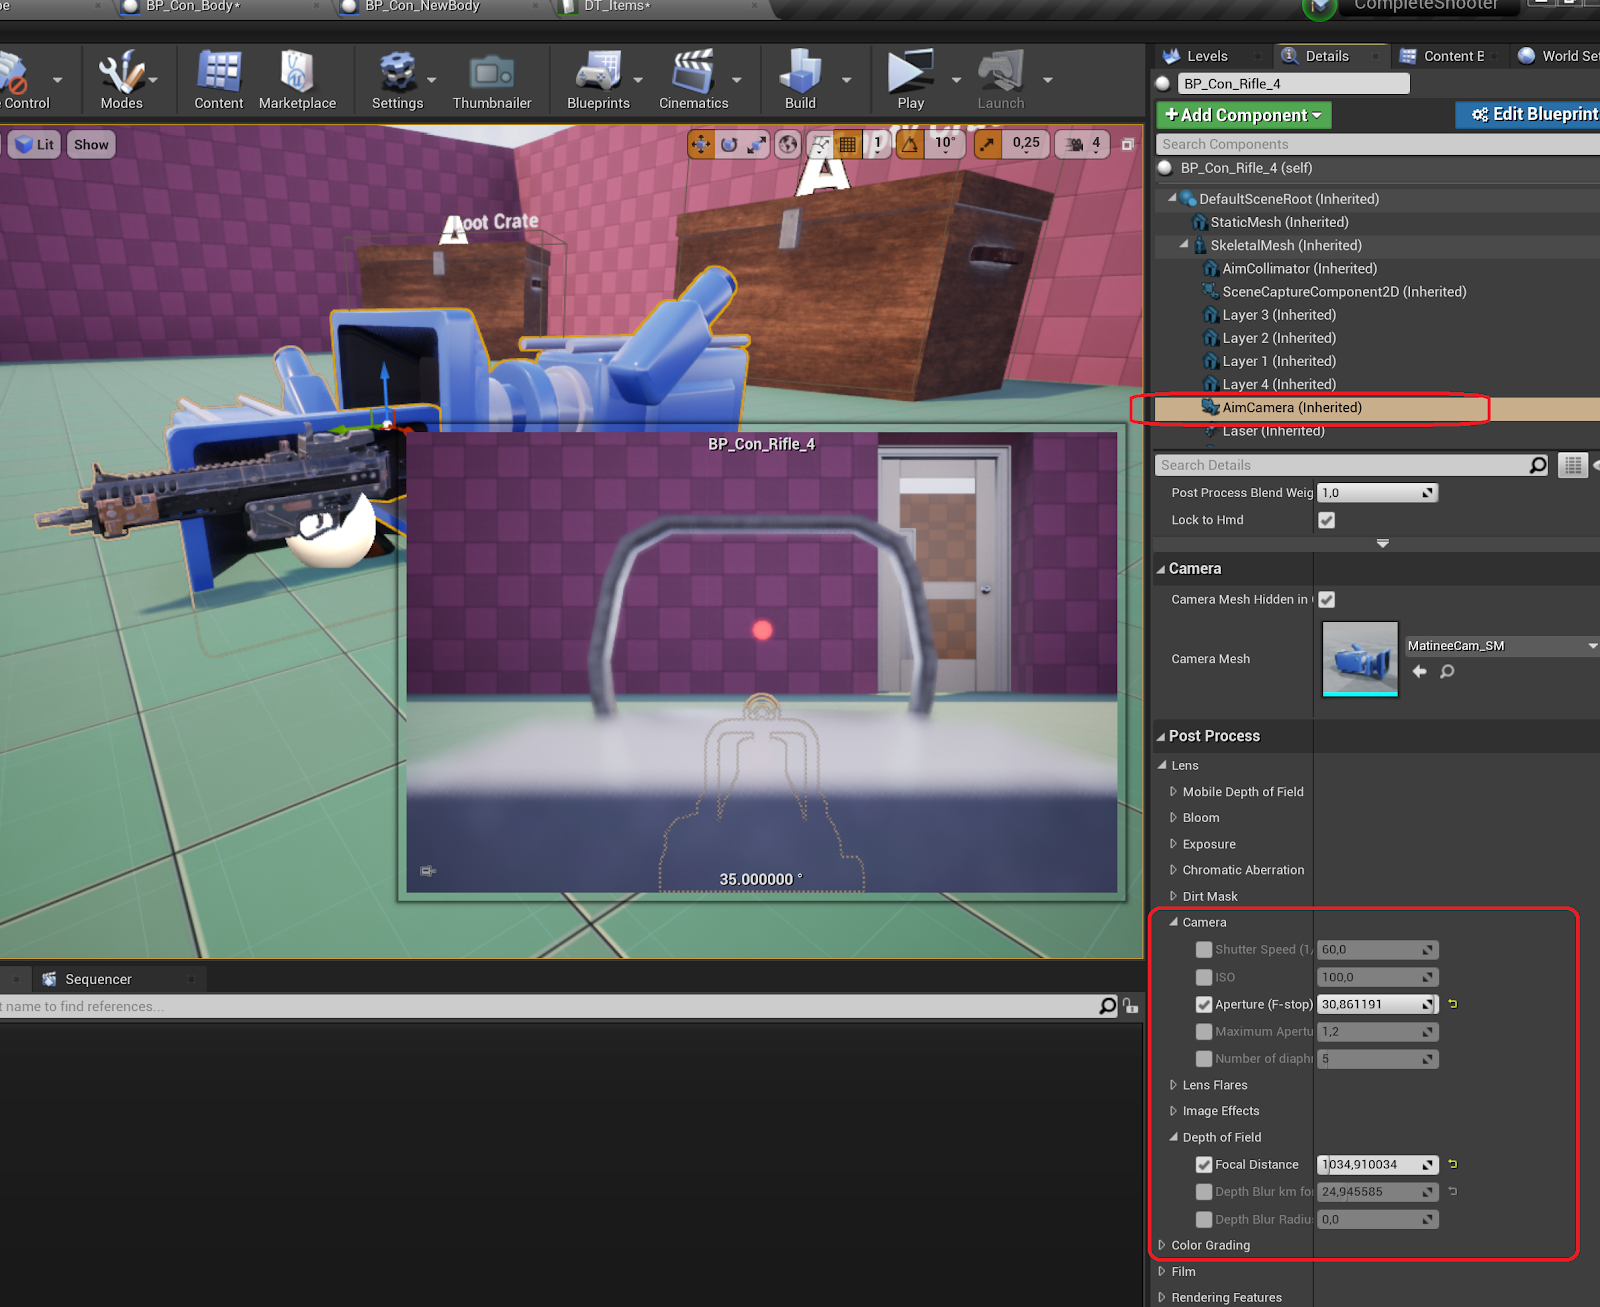
Now you can change camera settings. Here is the location and and DOF settings that you need to copy to the data table for the selected weapon.
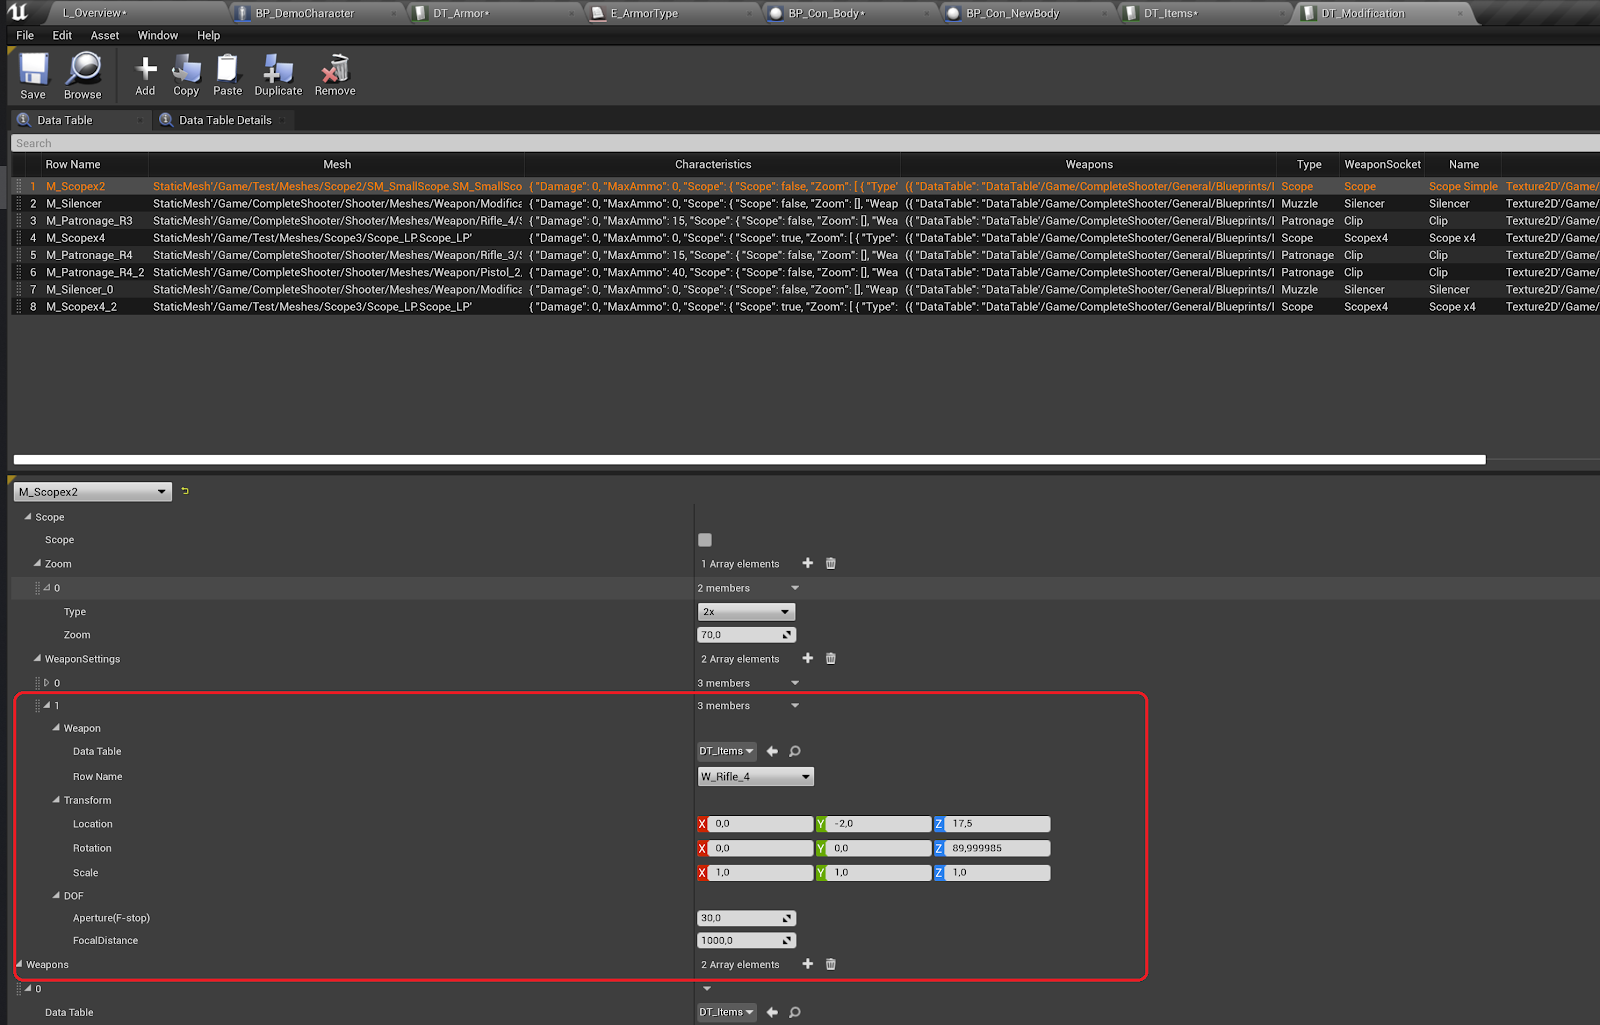
You need to do this for each weapon that you want to apply this modification to (I mean the Weapon array below).
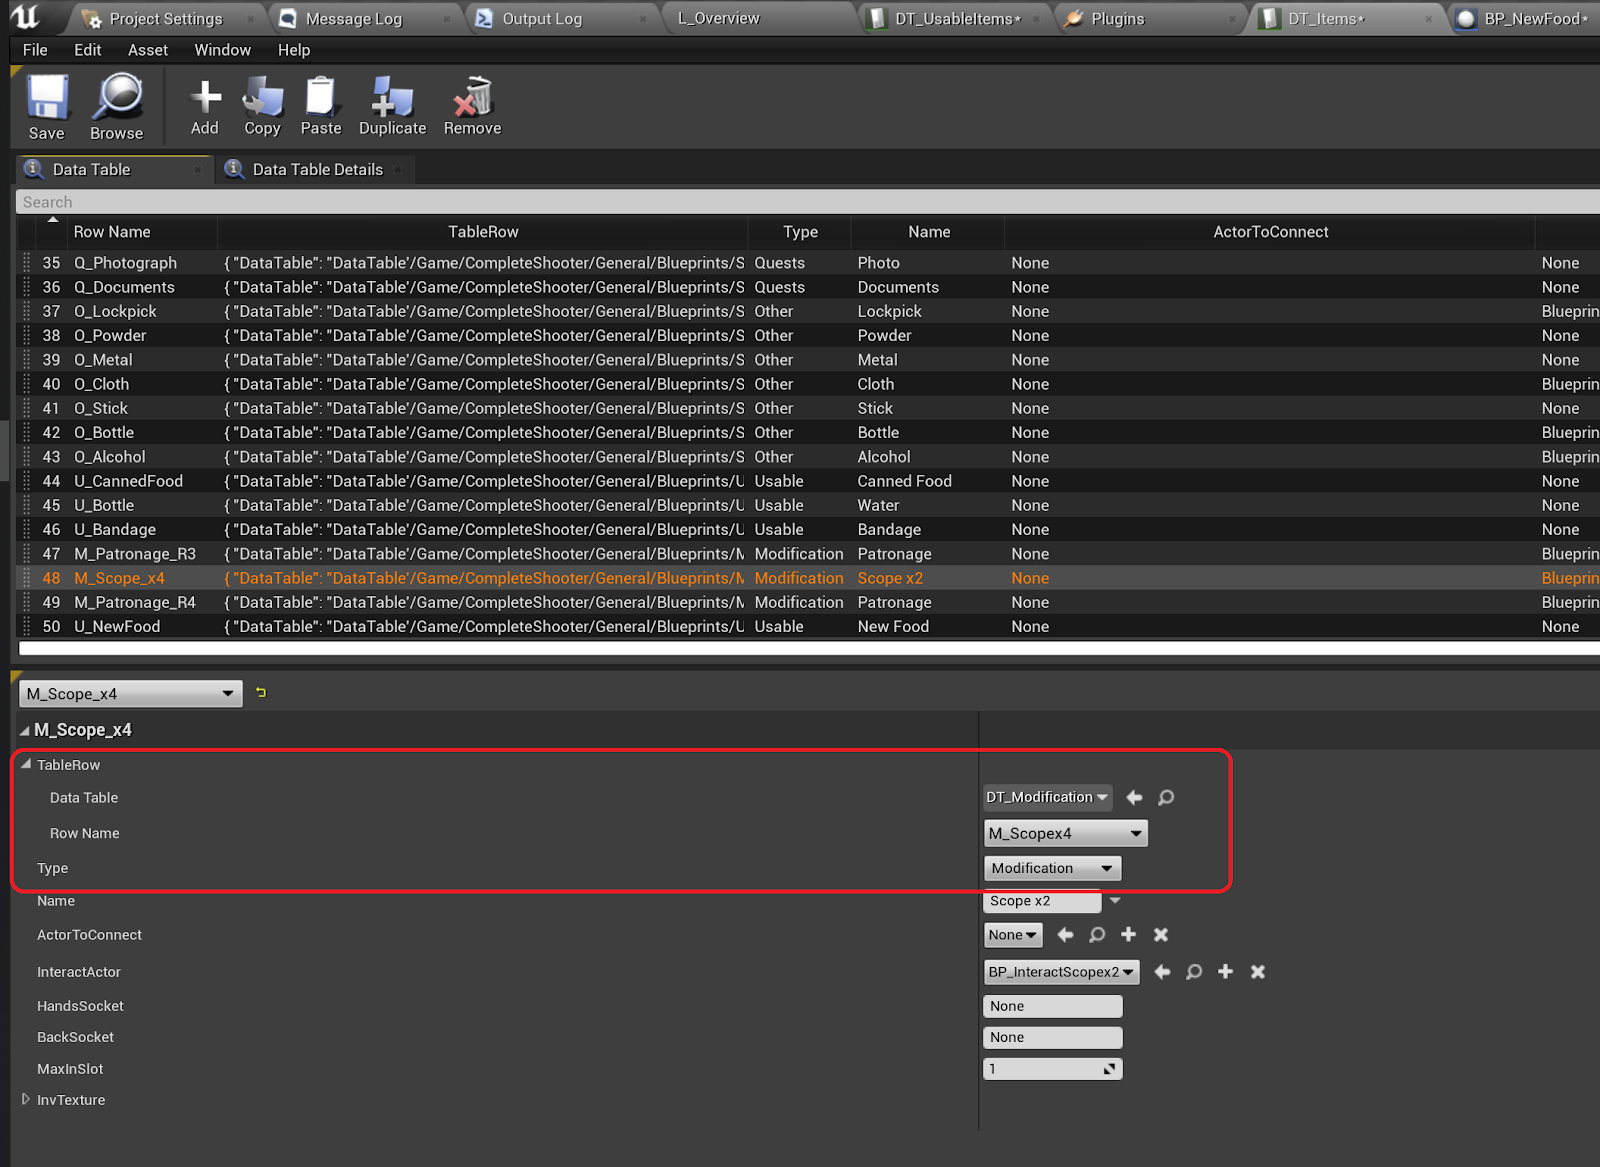
Once you have done everything you need to add a new row to the items data table. Don’t forget to change InvTexture structure settings to have a custom image and size of the item in your inventory.
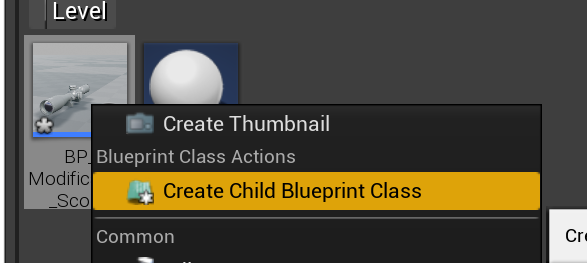
Here is a good example of a custom scope modification
You can create a child blueprint out of it and just change the location of the scope meshes and the mesh of the scope itself.
Now you can choose it here, in the items data table.