If you want to extend the Character Controller it’s recommended not to change the already existing State Machine, use instead the Linked Anim Graph functionality provided by the Unreal Engine 5. This offers some important advantages like a clean and separated animation graph.
The Character Controller makes use of these features and implements several Animation Layer Interfaces.
The flow is following:
Define Animation Layer Interfaces (like ACF_Moveset_ALI)
Implement those interfaces inside your base animation blueprint setup (like ACF_SimpleTemplate_ABP). Right now there is no concrete implementation, we just define the flow of your animation blueprint.
Now it’s time to actually implement the specific blueprint setup. Therefore we implement again the defined Animation Layer Interfaces in a second animation blueprint that is based on UACFMovesetLayer class (like ACF_BaseMoveset).
Create the logic within each of the linked layers.
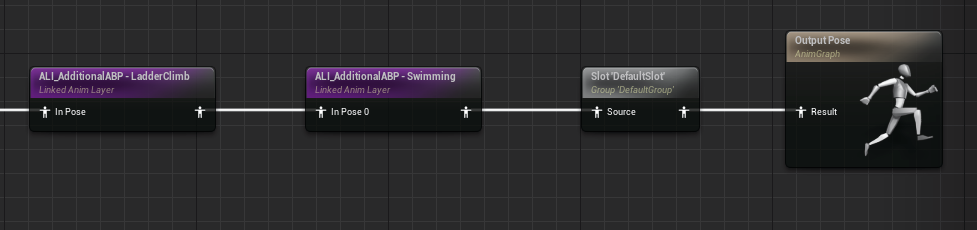
To add new AnimGraphs we will use the Linked Anim Layer functionality of UE5.
Create a new AnimationLayerInterface e.g. ALI_AdditionalABP and create a new Animation Layer.

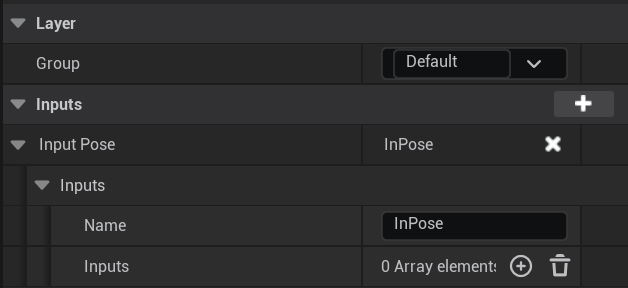
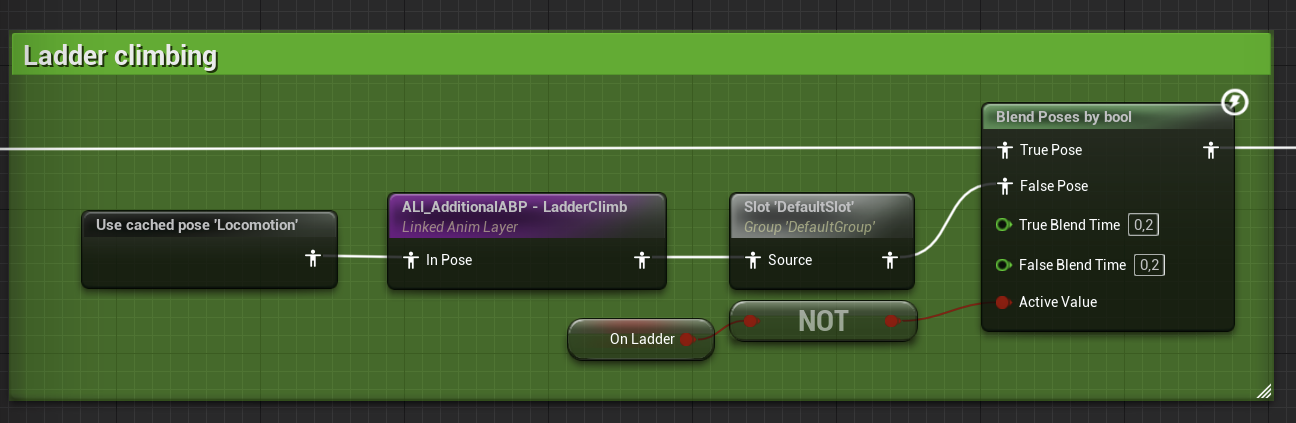
Define the “Input Pose” as you need.
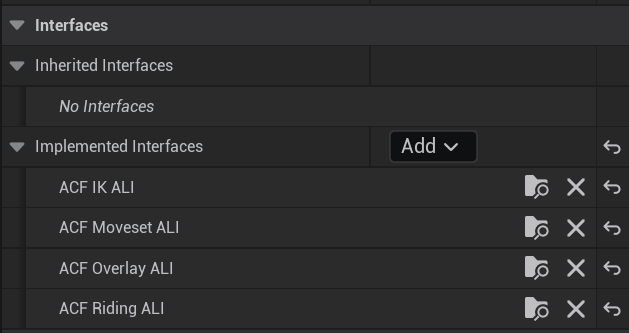
Add the newly created AnimationLayerInterface to your “Implemented Interfaces” (Figure 10) inside the Animation Blueprint e.g. ACF_Template_ABP.
Now there should be on the left side your defined Animation Layers appear.
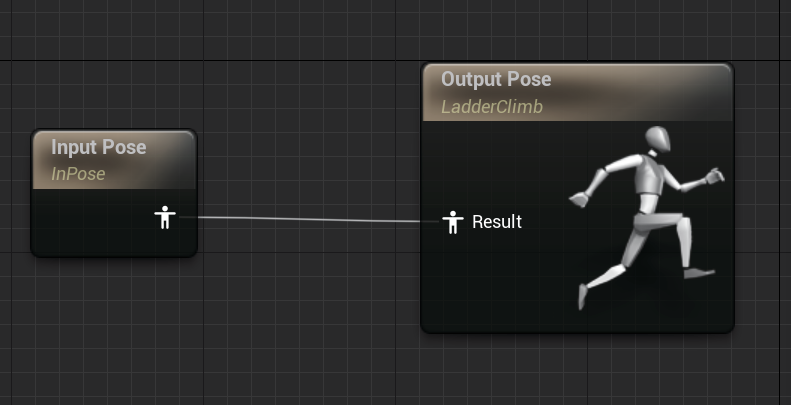
Open it and connect the Output Pose with the Input Pose.
Add a Linked Anim Layer to the end of your Output Pose of the AnimGraph.
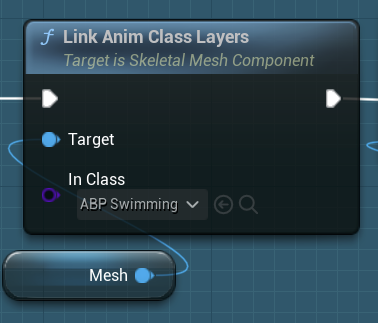
The only thing that is left is to link the animation class layer by calling “Link Anim Class Layer” of the Skeletal Mesh Component.