1、Add TNT Ziplines Component to character

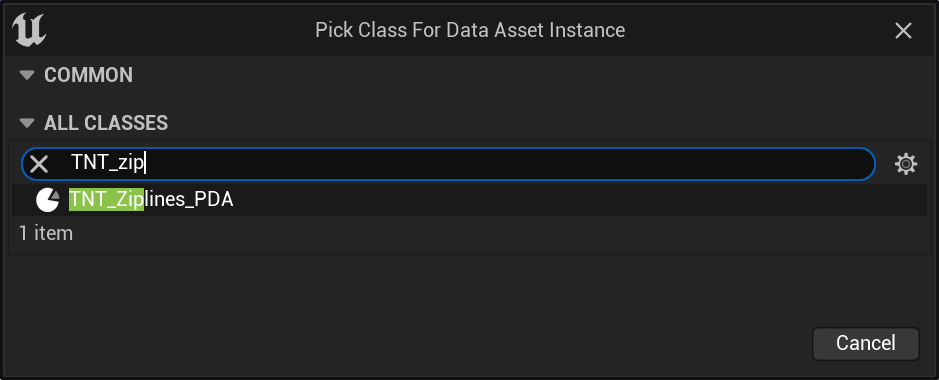
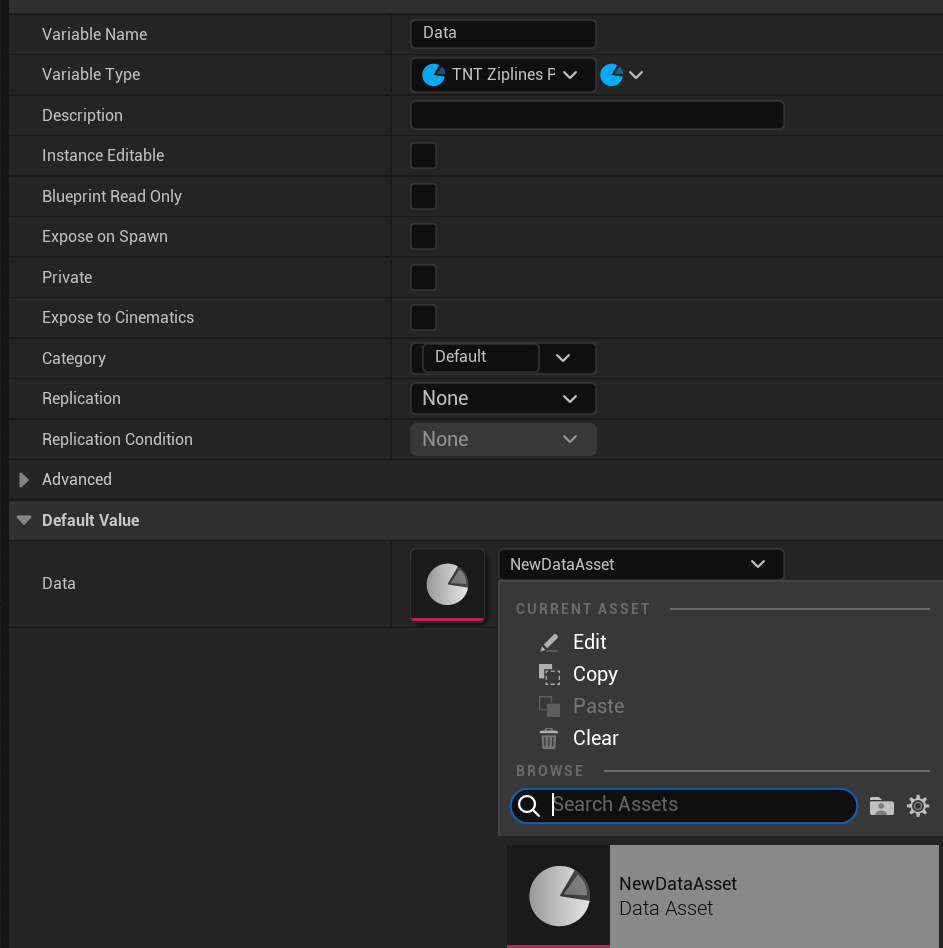
2、Create a data asset and select TNT Ziplines PDA

3、Configure the required data in the data asset
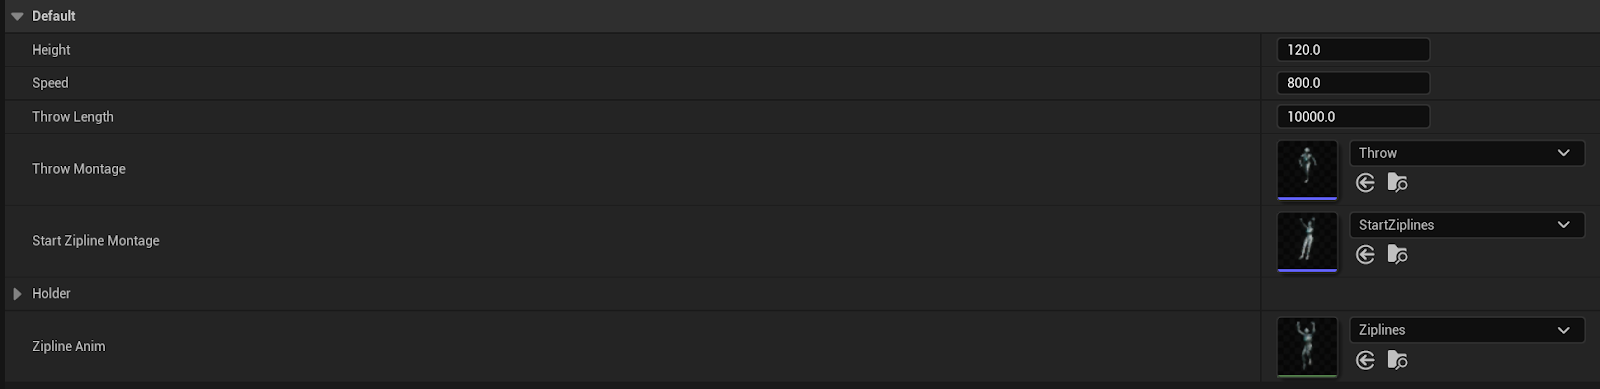
Height:Character height position
Speed:Movement speed
Throw Length:Maximum distance to throw rope
Throw Montage:Montage
Start Zipline Montage:Start Zipline Montage
Holder:

HolderActor | Actor held when sliding |
AttachSockName | SockName |
RelativeTransform | AttachToRelativeTransform |
Zipline Anim: Animation sequence during taxiing
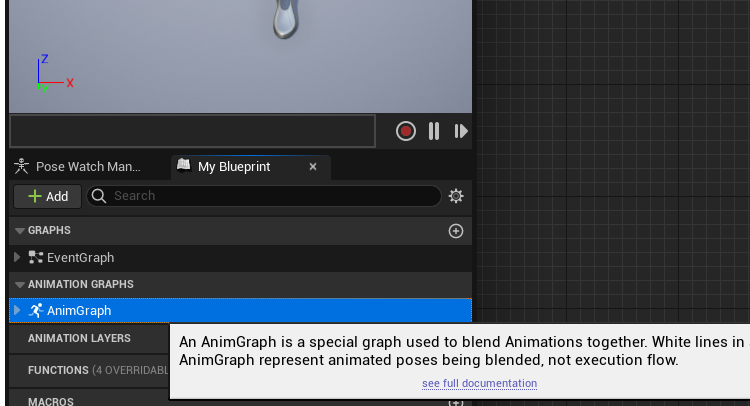
4、Set up an animation blueprint
Enter your animation blueprint

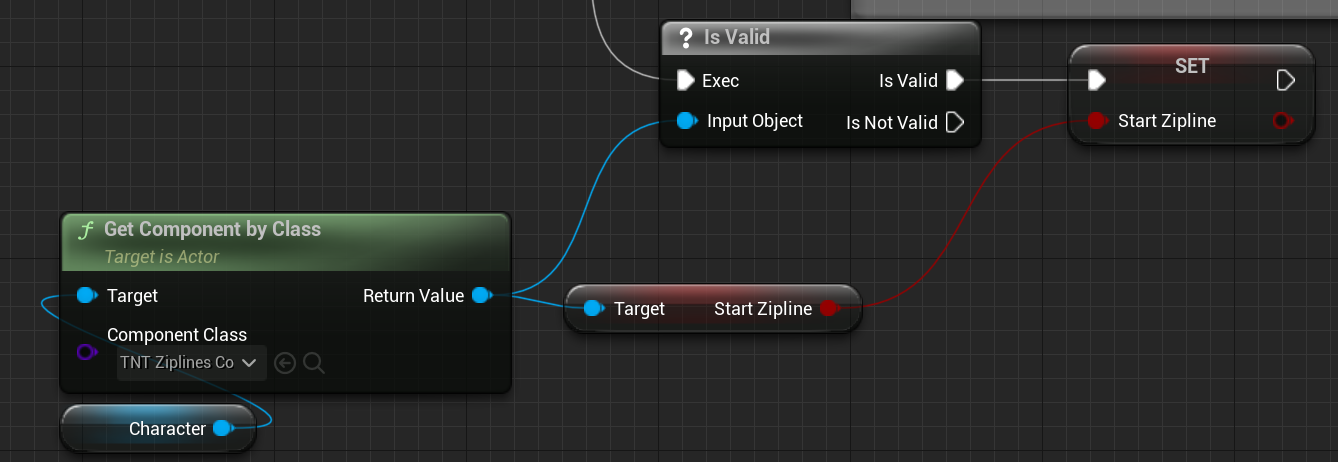
Then get the TNT_ZiplinesComponent and set the Zipline state
Come to the AnimGraph
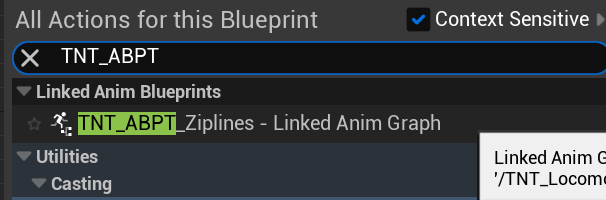
Create linked Anim Graph,select ABPT_TNT_Ziplines
Create blend poses by bool to connect

Enter the ABPT_TNT_Ziplines,Set Data Assets

Select the data asset you created
5、Set character blueprint
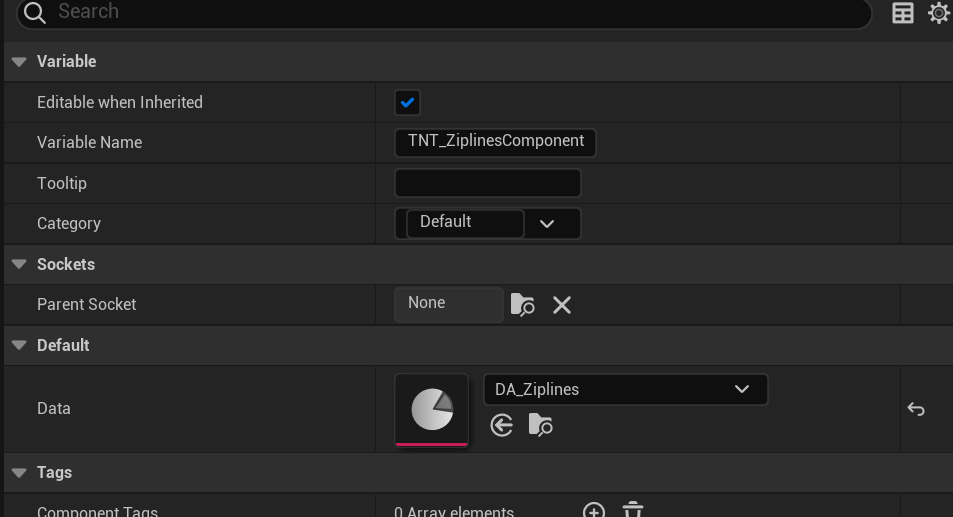
Specify data assets in the component detail panel
Call the Ziplines function
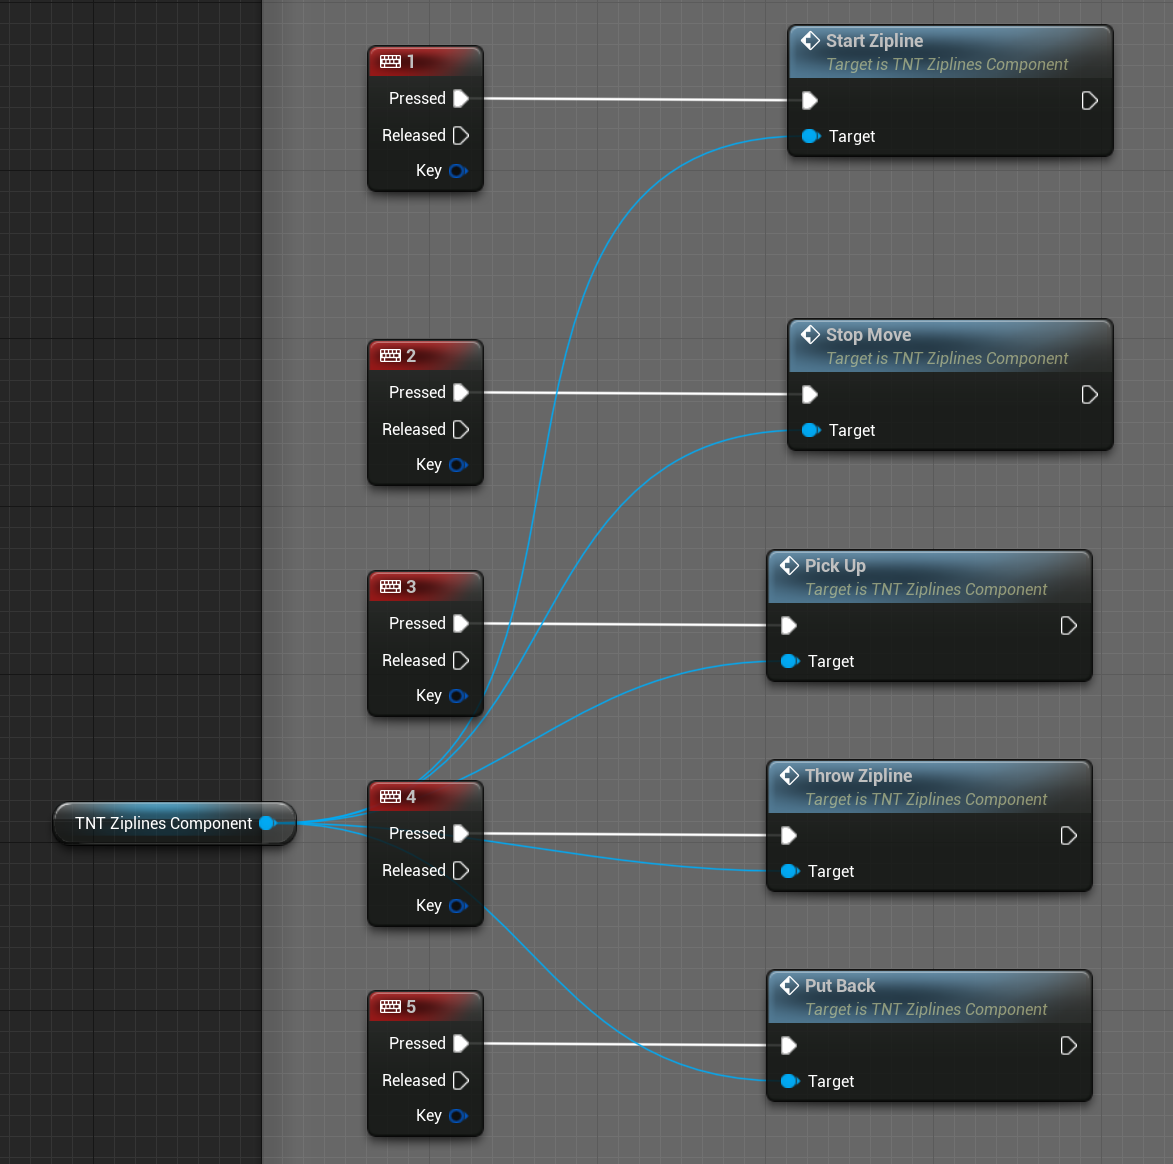
StartZipline | Start Zipline |
StopMove | StopZipline |
PickUp | Pick up the model |
ThrowZipline | Throw the model |
PutBack | Put back the model |
6、Add Anim Notify
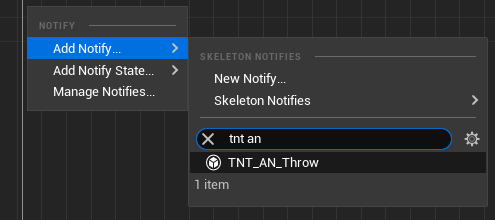
Start Throw model
7、Set Holder Actor

Create a new blueprint class that inherits from TNT_BP_Holder

Enter the blueprint

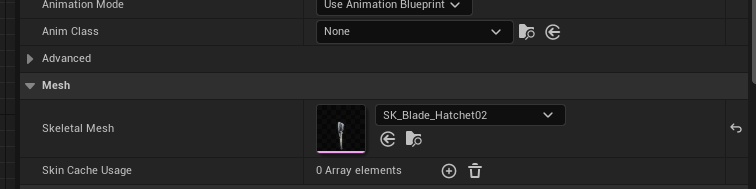
Set up Skeletal mesh
8、Set ThrowActor

Create a new blueprint class that inherits from TNT_ThrowActor
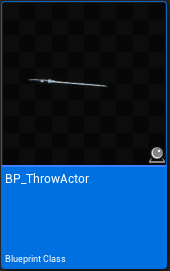
Enter the blueprint
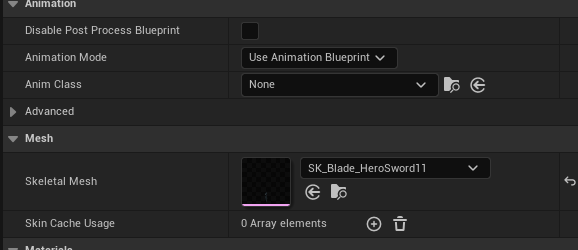
Set up Skeletal mesh
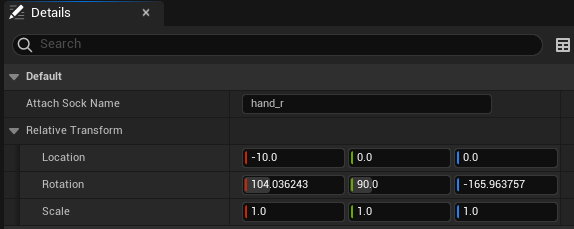
In the detail
Set Attach Sock Name and Relative Transform
9、Set ThrowZipline
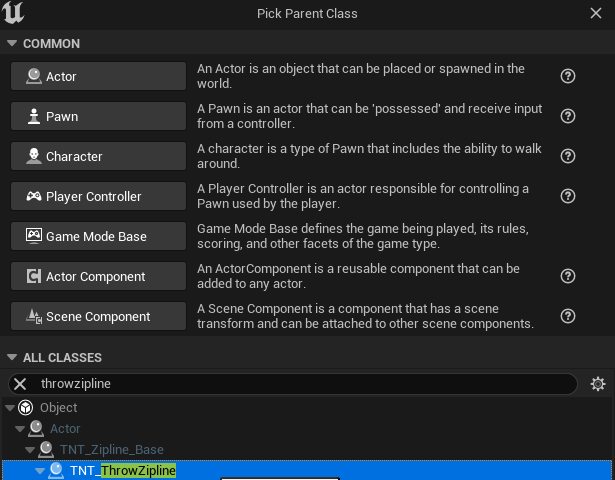
Create a new blueprint class that inherits from TNT_ThrowZipline

Enter the blueprint
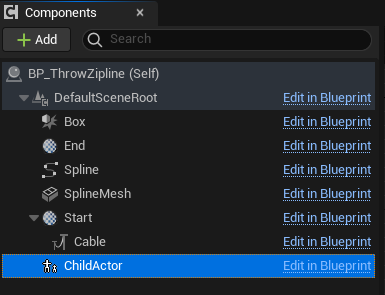
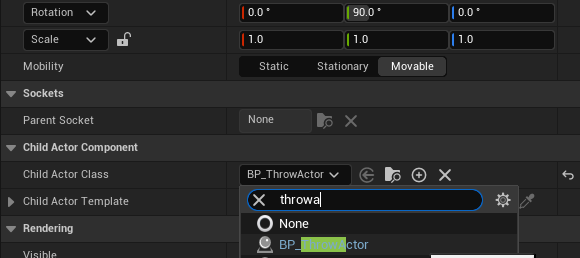
Set ThrowActor class in the details of ChildActor
Select the ThrowActor you created
Drag ThrowZipline you created into the scene

ThrowZipline is ready to use
10、Set FixedPointZipline

Create a new blueprint class that inherits from TNT_FixedPointZipline
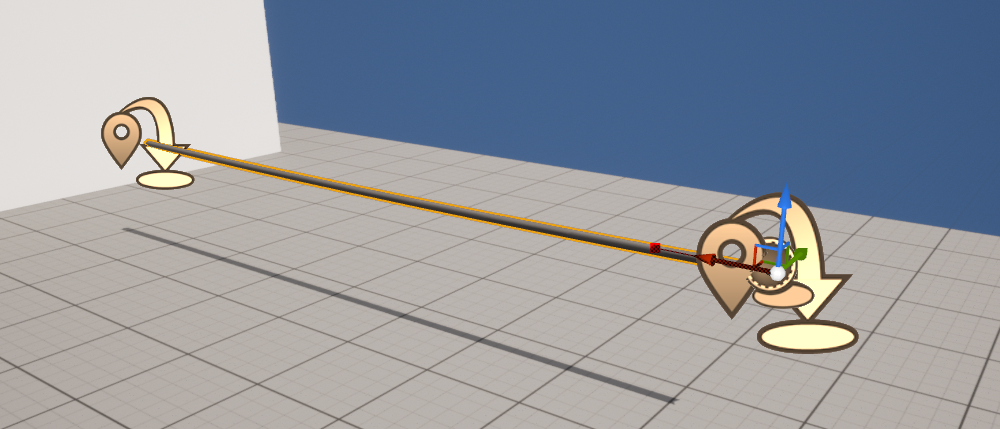
Drag FixedPointZipline you created into the scene

In details, End is the end point
Can move in both directions